QX3 Interactive Software
Software Installation
(Part 3)
Jump back to Interactive Software Installation, Part 2.
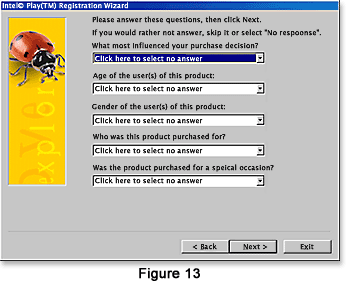
At the end of the last section, we discussed the first two dialog boxes of the Registration Wizard. When the second dialog box has been filled out and the Next button pushed, a third dialog box (Figure 13) appears that asks five questions:
What most influenced your purchase decision?
Age of the user(s) of this product.
Gender of the user(s) of this product.
Who was this product purchased for?
Was the product purchased for a special occasion?
Each question is followed by a pull-down menu with a default selection of Click here to select an answer and the usual range of pre-canned answers. An answer is not required and you can either skip a question or select No Response from the pull-down menu. We highly recommend these questions be answered, because your feedback can help these companies perfect their science products for young children. We feel this product, while already outstanding, could benefit from some improvements, especially to the educational curriculum. Also, if you purchased the microscope for your daughter, then giving this information may help the companies further develop this toy and others for young girls who are under-represented in the hard sciences. Any effort to answer these questions, no matter how trivial, may benefit the situation with science education in the toy arena.
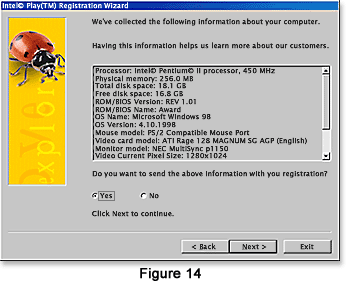
After answering (or not answering) the questions, click the Next button and Setup presents the fourth (Figure 14) Registration Wizard dialog box. This box shows the data that the Setup program has collected about your computer including the hardware inventory, operating system, monitor model, current screen resolution, BIOS name and version, total disk space, and free disk space. The dialog box asks whether to send this information to Intel Play with your registration. You have the choice of selecting Yes or No radio buttons before continuing to the next dialog box.
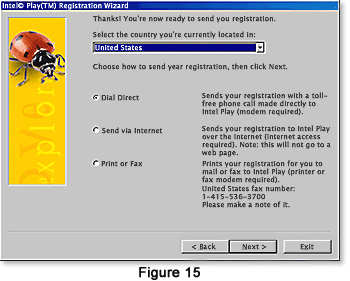
The fifth Registration Wizard dialog box (Figure 15) will initiate an attempt to establish either a modem or Internet connection to Intel Play computers. The box has a pull-down menu and three radio buttons. Use the pull-down menu to select your country and decide which of the three connection choices best suits your needs. If Dial Direct is selected, your registration information will be sent via your modem to a toll-free number belonging to Intel Play. Should you choose Send via Internet, this information is transferred through your Internet connection to a server at Intel Play. The third selection is Print or Fax, which simply prints your registration if you have a printer. You may then Fax the registration to a toll phone number at Intel Play, if your computer is so equipped.
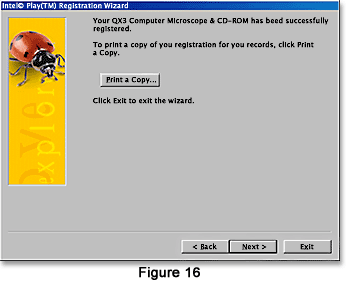
The final dialog box (Figure 16) of the Registration Wizard informs you that the registration has been successfully completed and invites you to print a copy for your records. Clicking on the Print a Copy button accomplishes this. Click the Exit button to exit the Wizard.
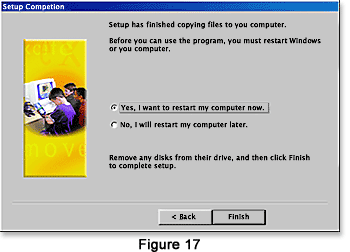
The Setup Complete dialog box is the last part of Setup. This box informs you that Setup is finished and the computer must be rebooted before using the microscope. There are two radio buttons to indicate Yes or No to the question of automatically rebooting the computer. To reboot, remove any floppy or CD disks, click on the Yes radio button, and go collect some microscope specimens while the computer reboots.
At this point, the software should be successfully installed on your computer. To continue with our tutorials, follow the link below to visit our Live View menu primer.
Go directly to Live View menu discussion.
BACK TO QX3 INTERACTIVE SOFTWARE
